Removing 3D print is the last step when you have to take off 3D printed model from the bed. You can do it with your hands by pulling it off. But in that case, you might damage the printer, bed or even the actual print. To solve this problem most 3D printer comes with a scrapper. This scrapper helps you to easily remove 3D print from bed with little pressure.
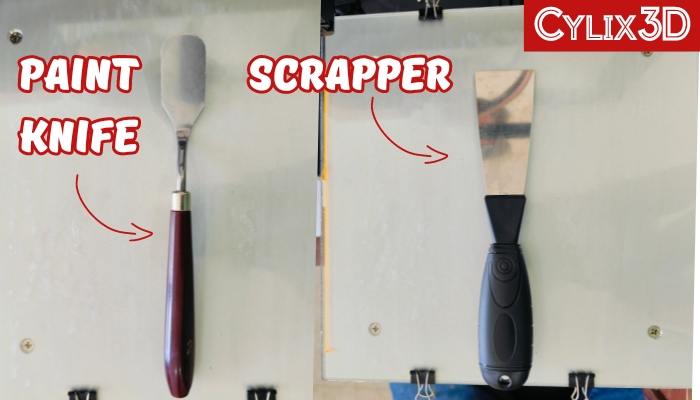
If you have not got this scrapper with your 3D printer. It’s a highly recommended 3D printing tool and you can buy a paint knife or scrapper from any stationary shop near you or online. It will look something like this.
What Helps To Easily Remove 3D Print From Bed?
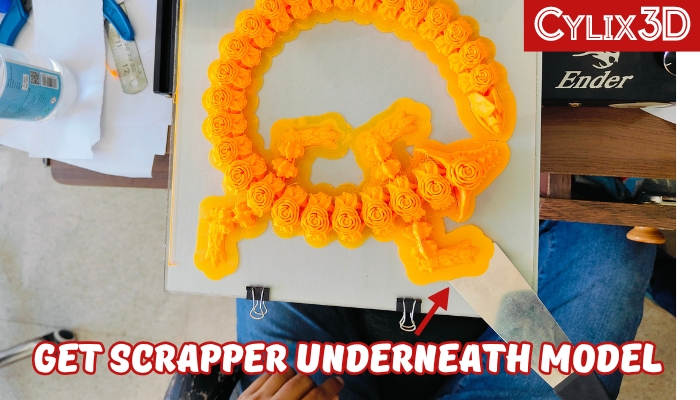
1. Scrapper will help in getting underneath the 3D print and pull it off easily with little pressure.
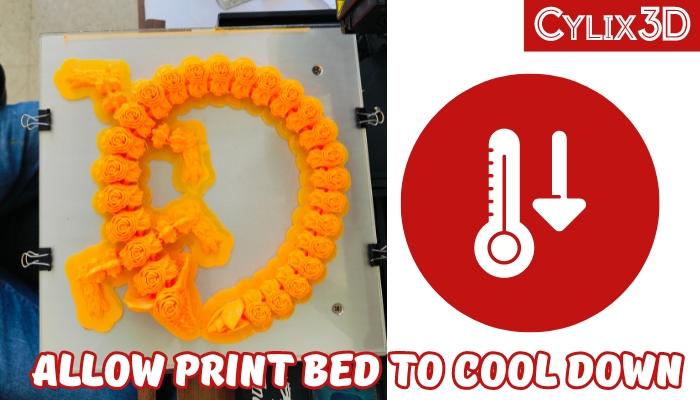
2. Let your print bed cool down to room temperature before you start removing 3D print. This allows bed adhesion to reduce between print and bed helping you to remove 3D print easily.
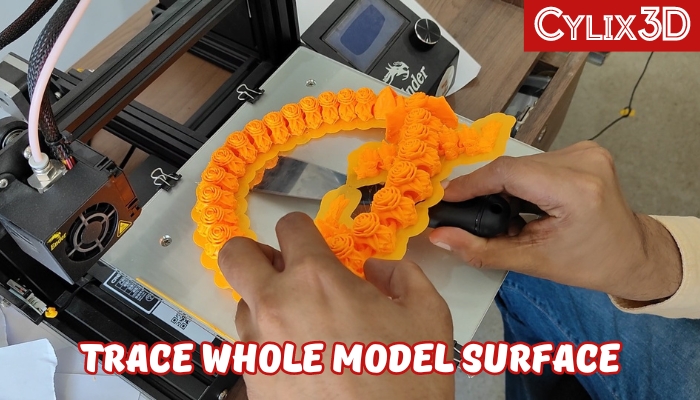
3. Move the scrapper slowly underneath the whole model starting in one corner. It’s not recommended you hold some part of the print and put pulling pressure to take off. Doing this might break some parts of your model.
4. Removing 3D print from the flexible removable bed is easier than the glass bed. However, both print bed has positive and negative. You will get better print quality on a glass bed compared to a flexible bed in the long run.
Remove 3D Print Easily Using Scrapper: Step by Step
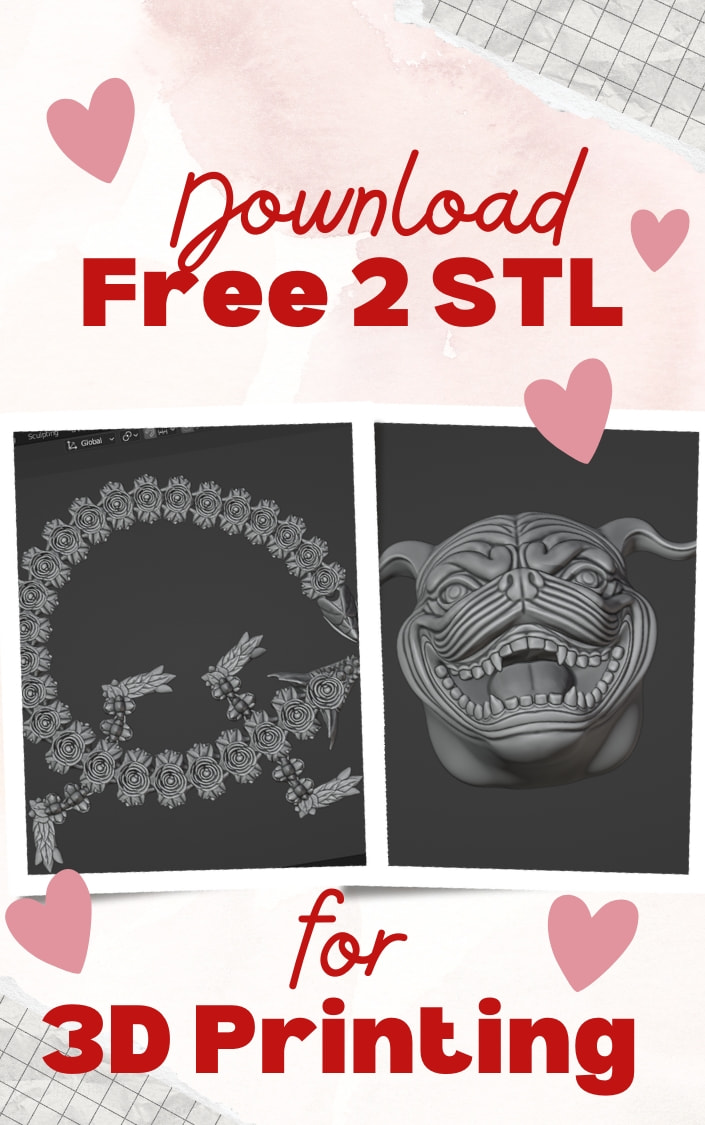
To help you better understand the process I will use our Rose Dragon model for removing it from the bed. You can download this model for free here.
Download 2 Premium STL Files for 3D Printing

Step 1: You need to wait for some time until the bed is cooled down to room temperature after your model is 3D printed on the bed. It will take around 1-2 minutes.
Step 2: Now pick any corner of your 3D model that is easy to reach and try to put pressure to move the scrapper underneath the model. In this step, you need to put some pressure and the goal is to just get the scrapper underneath the model without damaging it.
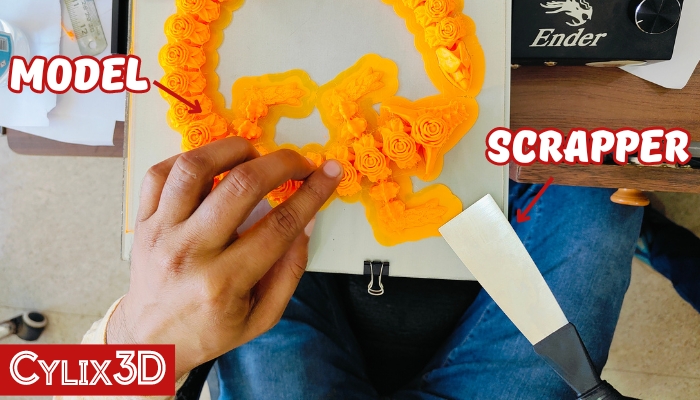
Step 3: Once your scrapper has reached the underneath the model, next you just need to trace the whole model surface until the whole model is separated from the print bed. Make sure to do it slowly moving scraper left and right. You will also notice it gets easier to remove it once the scrapper gets below the actual print. The difficult part was the previous step. Below you can see I did easily for our Rose dragon model.
Step 4: It’s all done and now you can remove your 3D print from the bed easily.
Important Note: If your 3D print is hard stuck to bed. You find it difficult to reach your scrapper underneath the corner of your print. In that case, you can use a small hammer to hit on scrapper back when trying to get underneath the model.
Important Points To Remember About Removing 3D Prints from Bed:
1. Scraper is the only recommended tool for removing 3D prints from the bed.
2. Paint knives or paint scrappers are cheap and easily available alternatives in the market.
In summary, the correct way to remove the 3D print from the bed is to make sure you use a scrapper to get underneath the print and then slowly trace the whole model.